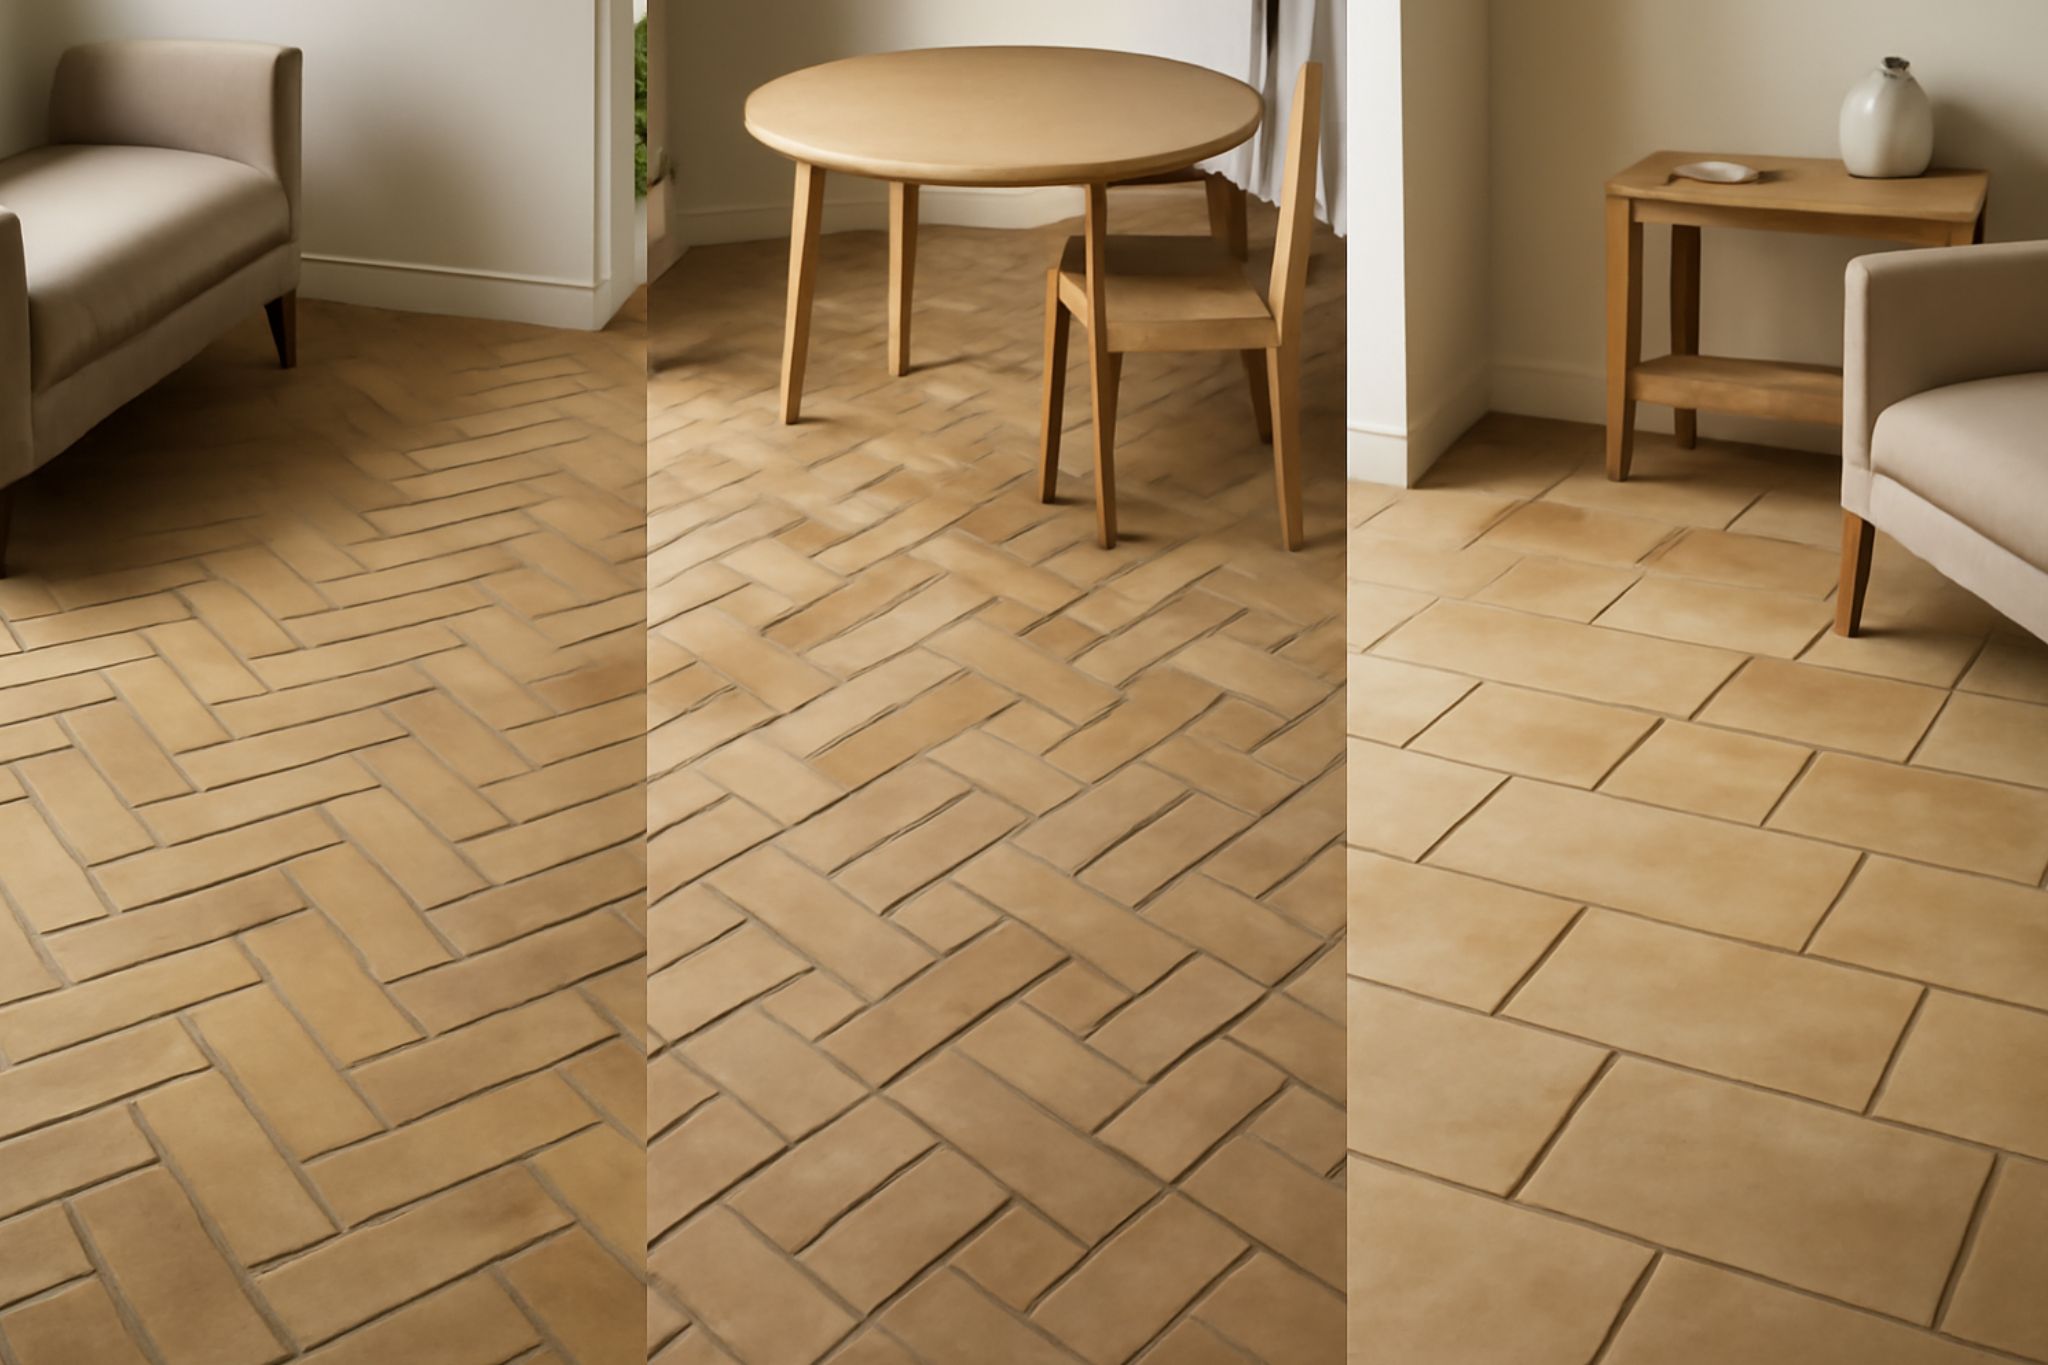
Indian sandstone is one of the most popular choices for outdoor paving in India. It’s natural, long-lasting, and looks beautiful in gardens, patios, and walkways. But to get the best results, you need to lay it properly — especially when using a specific pattern.
This guide explains how to lay Indian sandstone patterns step by step. It’s written in simple language so anyone can follow it.
Why Patterns Are Important
Laying sandstone in a proper pattern adds both strength and style to your outdoor space. Patterns help spread the weight evenly and reduce the chance of the stones shifting or cracking over time.
Some common patterns include:
- Four-size mix (600x900mm, 600x600mm, 600x290mm, 290x290mm)
- Running bond (like bricks)
- Random layout for a more natural look
Choosing the right pattern makes a big difference in how your space looks and performs.
Step 1: Choose Quality Indian Sandstone
Start by picking the right sandstone. It should be durable, weather-resistant, and cut accurately.
Lavina Granites offers premium Indian sandstone in various finishes, textures, and colors. On their product page, you’ll find ready-to-use sandstone slabs that work perfectly for different patterns. Their response is quick, and they guide you in selecting the right material for your needs.
Step 2: Plan the Layout
Before you start laying, dry-lay the stones on the ground to plan your pattern. This helps:
- Mix color tones for a natural look.
- Avoid too many cuts or waste.
- Visualize the final result.
Make sure to mix slabs from different packs to get even color distribution. Decide where you want each size of slab and how the joints will line up.
Step 3: Prepare the Base
To create a strong base, follow these steps:
- Dig the area to about 150mm depth.
- Add 100mm of crushed stone (MOT Type 1 or similar)
- Compact it well
- Mix five parts sharp sand with 1 part cement to make mortar.
- Spread a full mortar bed (not spot dabs) under each slab.
This ensures the stones sit firmly and don’t move over time.
Also Read : Stone Interior Design: A Simple Guide for Modern Homes
Step 4: Lay the Sandstone
Now start laying the stones, one by one:
- Begin at a corner or edge.
- Place each stone on the wet mortar.
- Tap gently with a rubber mallet to level it.
- Leave a 10–15mm gap between slabs.
Use a level and string line to keep everything straight.
Work in small sections. This helps maintain accuracy and gives time to adjust as needed.
Step 5: Fill the Joints (Pointing)
Once the slabs are set and dry (usually after 24 hours), it’s time to fill the joints. There are two common methods:
- Cement jointing: Mix four parts sand to 1 part cement and press it into the gaps
- Ready-made joint compound: Brush it in and wash off the excess
Make sure to clean off any extra material before it dries to avoid marks or stains.
Step 6: Clean and Finish
After pointing:
- Wash the surface with clean water (no harsh chemicals)
- Let it cure for 48 hours before walking on it.
- If needed, apply a sealant to protect against stains.
Sealing is optional, but helpful in high-traffic or cooking areas.
How Lavina Granites Helps You
Lavina Granites is a reliable name when it comes to Indian sandstone. Here’s how they help:
- They provide ready-to-use sandstone in mixed-size packs.
- Their stones are strong, calibrated, and weather-resistant
- You get help choosing the right product for your design.
- Their customer support is fast and professional.
Their Indian Sandstones section has everything you need to complete your project with ease.
Conclusion
Knowing how to lay Indian sandstone patterns can transform your outdoor area into a beautiful, long-lasting space. With good planning, proper base preparation, and the right materials, you can do it yourself or guide your contractor.
For the best results, always use high-quality sandstone like the one provided by Lavina Granites. Their product range, helpful support, and ready-to-lay options make the entire process smooth and reliable.
Start your project right — and let your space shine with Indian sandstone.

